
Today actually felt like fall! We capped out in the 70s, and there was a crispness to the air that had me thinking of Pumpkin Spice Lattes and falling leaves, and...
 |
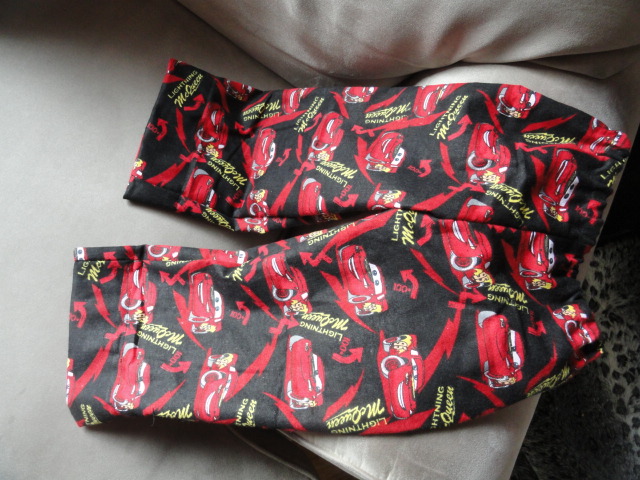
cozy flannel pajama pants!
Of course, as you can probably tell, these aren't for me. They are for my nephew who had his 3rd birthday more than 2 weeks ago, and I have yet to send his package! Bad Auntie!
Well, lets rectify that situation right now!
Materials:- 1 yard of fabric (mine is flannel for extra snuggliness, but cotton works just fine too)
- thread
-scissors
-1/2" elastic
-paper and tape (for the pattern)
 Step 1: Make a pattern by tracing an existing pair of pants in the size you need, leaving a 1/4" for seam allowance. You will need to make two patterns, one for the back of the pants and one for the front. For the back pattern, adjust the pants so you can see the seam from the waist to the crotch, then refold and do the same thing for the front. |
 |
| Make sure to add 1 1/2" to the top of the waist for the elastic. |
 |
| And add 2-4 inches to the legs for hemming. |
 When you're finished you should have a front and a back piece that look like this. (don't forget to label them!) |
 Fold your fabric so that the right sides are together, pin your fabric pieces onto the fabric and cut them out. When you are finished you should have four pieces, two front pieces and two back pieces. |
 With right sides facing, pin the front pieces together along the curved edge and do the same for the back pieces. Sew along the curved edges using a 1/4" seam allowance. |
 I don't have a serger, so to finish the edge I select the zigzag stitch (#4 on my machine) |
 |
| It should look like this. |
 Now, open your front and back pieces, lay them on top of each other with right sides facing, and pin and sew along the inside of the legs. Don't forget to serge or zig-zag the edge when you're done! |

Next, line up the side edges and pin starting at the waist and working your way down, if the legs are slightly uneven at the bottom, trim them up. Sew the sides with a 1/4" seam allowance, and don't forget to finish the edges.
 Now it's time to add the waist and the cuffs. Start by sergeing or zig-zag stitching the edges of the waist and both legs. Next, fold down the waist 3/4"-1" and press. |
 Now sew along the edge of the waist, but leave a 2" gap at the end so you can insert the elastic. |
 Measure the waist of the the pants you used to make the pattern, or for more accurate fit, measure the waist of the person you are making the pants for, to determine how long the elastic needs to be. Add an inch to your elastic measurment. The easiest way to thread elastic through the waistband is to attach a safety pin to the end of the elastic. |

Once the elastic is all the way through, over lap the extra inch and sew it together using the zig-zag stitch (which will allow the elastic to stretch) Then simply sew the waist band closed.
|
 Now for the cuffs: This is a good time to have the person try the pants on so you can get an accurate measurement of how long the cuffs should be, but if they are unavailable, once again use the pants you made the pattern from to get the measurement. Once you've decided how long the pants should be, fold the cuff and press, just like you did with the waist. Now, sew along the edge of the cuff and... |
 You did it! You made pajama pants! |
I would love to see N.S. or G.J. model these!
ReplyDeleteI need to make these for Christmas!! Love it!
ReplyDeleteIf you make some send me pictures! I'd love to add a few sample pictures to this post!
Delete